
This WooCommerce setup checklist is for owners and managers who are about to launch a store, and for anyone who reviews a developer's work. It walks through the settings screens in the order they matter and ends with a test-order routine you can run yourself.
We checked menu names and defaults in the WooCommerce documentation on 30 October 2026. Menus change between versions, so treat the names as a guide. The tax section is general information, not tax advice. Check with a qualified adviser in your country before you set rates or retention periods.
Start with the list WooCommerce gives you
The setup wizard ends on a Store Setup Checklist. Its tasks run in this order: add your products, set up payments, customize your store, collect sales tax, select your shipping options (shown only when needed) and launch your store. You can skip guided setup and go straight to the list. For the launch task, the documentation says to confirm that a test order works, that payment and email notifications arrive, and that you have decided whether to turn off Coming soon mode.
At the time of writing (30 October 2026), the settings live under WooCommerce > Settings, in these tabs: General, Products, Tax, Shipping, Payments, Accounts & Privacy, Emails, Integration, Site visibility and Advanced. The Tax tab appears only after you enable taxes in General. From WooCommerce 11.0, a Point of Sale tab also appears in every store.
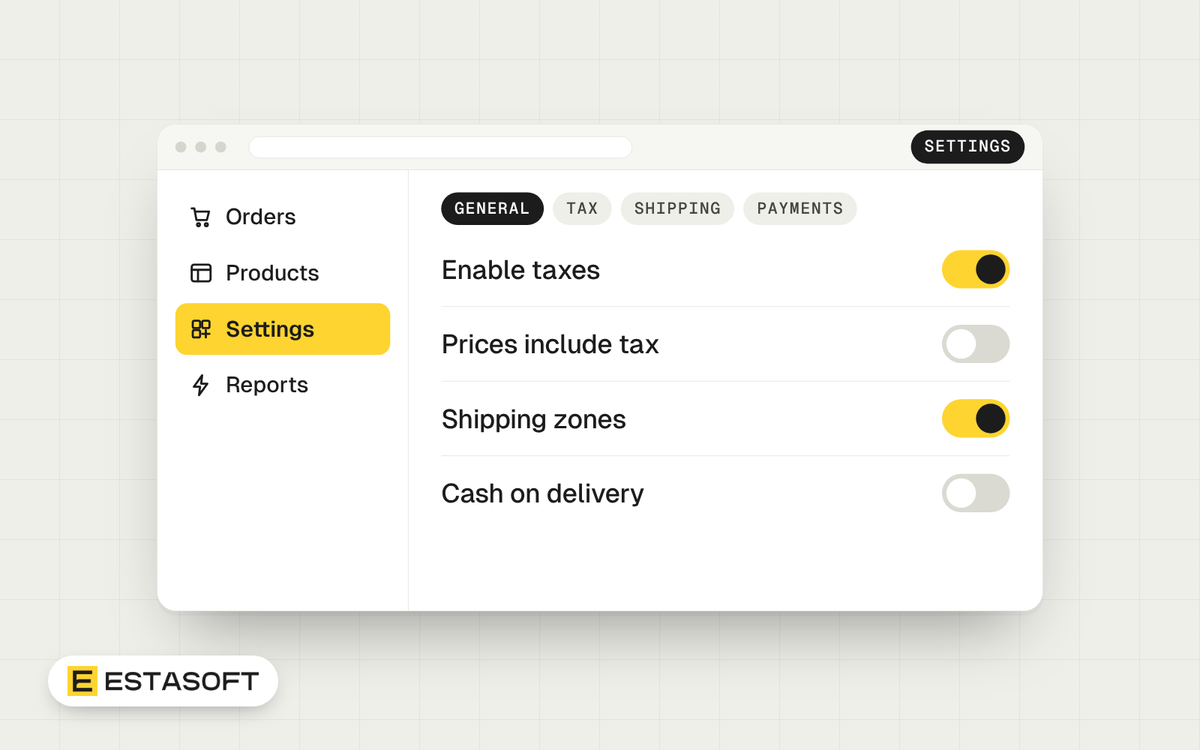
General: places, currency and the tax switch
- Store address. Tax and shipping setups often use it.
- Selling location(s) and Shipping location(s). Check these before you build shipping zones.
- Default customer location. Choose Shop country/region, No location by default, Geolocate, or Geolocate (with page caching support). The last option uses AJAX and can add a ?v= string to URLs, which the documentation calls expected.
- Currency. You can select only one. Set the position, thousand separator, decimal separator and number of decimals. From WooCommerce 11.2, separators cannot contain numbers.
- Enable taxes and Enable coupons. Both are switches here.
Tax: decide how prices are entered and shown
Go to WooCommerce > Settings > Tax. Prices entered with tax asks whether you type prices inclusive or exclusive of tax. Calculate tax based on defaults to the customer shipping address, with the billing address or shop base address as other choices. Shipping tax class defaults to Shipping tax class based on cart items. Display prices in the shop and Display prices during cart and checkout each take Including tax or Excluding tax. Display tax totals is Itemized or As a single total.
If the entry and display settings disagree, WooCommerce shows a conflict warning with a Use recommended settings button. Ask your accountant which setup your country expects before you enter your products.
Shipping: zones, methods and classes
Shipping zones are under WooCommerce > Settings > Shipping. A customer matches only one zone. WooCommerce checks zones from the top down and uses the first match, so list zones from smallest area to largest. A default Rest of the world zone covers addresses that match nothing else. Built-in methods are Flat Rate, Free Shipping and Local Pickup. From WooCommerce 11.1, an inline warning appears when a broader zone above already covers the same region.
Shipping classes group products, for example bulky and small items. Each product can have only one class, and classes create no rates on their own. You add class costs inside a method such as Flat Rate.
Payments: providers, offline methods and test mode
The Payments tab is where you enable providers and drag them into the order customers see. Offline methods sit under Take offline payments. A direct bank transfer sets orders to On hold, so check that the money arrived before you ship. At the time of writing (30 October 2026), WooPayments is available only if your business is registered in one of 38 listed countries, and it needs HTTPS. Iraq and Saudi Arabia are not on that list, so read our guide to online payments in Iraq and Kurdistan before you pick a provider.
For WooPayments, test mode is under Payments > Settings. WooCommerce warns that if you test with real orders in live mode and refund yourself, the transaction fees are not refunded.
Pages, emails and privacy
- Pages. Under WooCommerce > Settings > Advanced > Page setup, assign the Cart, Checkout, My account and Terms and conditions pages. Without a Cart and Checkout page, customers cannot buy. WooCommerce also creates an unpublished draft Refund and Returns Policy. If pages are missing, use WooCommerce > Status > Tools > Create pages.
- Emails. Under WooCommerce > Settings > Emails, set the From name and address, and use an address on your own domain, which the documentation recommends. Use Send a test email in the Email Preview section. Add Reply-to email is off by default, so switch it on if replies should reach a different mailbox. New order mail goes to the site admin email by default, so make sure someone reads that address.
- Accounts and privacy. Decide on guest checkout and account creation. Generate account login is recommended, though the Checkout block hides that setting and generates usernames itself. Send password setup link emails new users a link to set their password. Under Personal data retention, a blank field keeps data indefinitely. When set, cleanup runs daily: pending, failed and canceled orders go to the trash, and completed and refunded orders are anonymized. Our privacy and cookies guide covers the wider rules.
Permalinks, HPOS and store status
Set permalinks before launch, on the Permalinks screen under Settings. WordPress's own tutorial warns that changing an old permalink breaks existing links and does not redirect visitors automatically.
High-Performance Order Storage (HPOS) keeps orders in dedicated tables instead of the WordPress posts tables. It is on by default for new installations from WooCommerce 8.2, released in October 2023. Existing stores are not migrated automatically. Check it under WooCommerce > Settings > Advanced > Features, where the switch is disabled if an incompatible extension is active.
Open WooCommerce > Status to read the PHP version, WP memory limit and HTTPS check, and use Get system report when you ask a host for help. WordPress also has Tools > Site Health. See our hosting and speed guide for the numbers. A new store that finished onboarding starts in Coming soon mode, set under Settings > Site visibility. Switch it to Live when you are ready.
The test-order routine
- Turn on your gateway's test mode. Use test cards only, such as the ones in the WooPayments testing guide.
- In a private window, as a guest, add a product and check that prices match your tax display choice.
- Enter an address from each shipping zone and confirm the methods and rates.
- Pay, then check the order status in the admin.
- Check the New order email to the store and the Processing order email to the customer, including the spam folder.
- Repeat with a bank transfer if you offer one, and confirm the order is On hold.
- Refund the test order and check the email.
- Request a password reset from My account.
- Turn test mode off, set Site visibility to Live and place one small real order if the business allows it.
Mistakes to avoid
- Entering all products before settling the Prices entered with tax option.
- Putting a broad shipping zone above a narrow one.
- Testing with real orders in live mode.
- Launching with the draft returns policy still unpublished.
- Sending store email from a free webmail address instead of your own domain.
Questions owners ask
Should I turn on HPOS?
New installations have it on already. On an existing store, enable compatibility mode first, let the two tables synchronize, then switch. Check extension compatibility in the Features screen before you start.
Do customers need an account to buy?
Not unless you require it. The Enable guest checkout option sits under Accounts & Privacy. Subscription purchases still require an account.
How long should I keep order data?
That depends on your country's record-keeping rules, so ask your accountant. WooCommerce lets you set periods for each order type, and it keeps data indefinitely if you leave the field blank.
Need a hand?
Our eCommerce solutions page lists the catalog, checkout, payments and shipping work we do, and names WordPress among the platforms we build on, with store setup, theme and plugins. To talk about your store, send a short brief on the contact page.
Sources
- WooCommerce: WooCommerce setup
- WooCommerce: Configuring WooCommerce settings
- WooCommerce: General settings
- WooCommerce: Setting up taxes
- WooCommerce: Setting up shipping zones
- WooCommerce: Product shipping classes
- WooCommerce: Direct bank transfer (BACS)
- WooCommerce: WooPayments in your country
- WooCommerce: WooPayments startup guide
- WooCommerce: Testing WooPayments
- WooCommerce: Advanced settings
- WooCommerce: WooCommerce pages
- WooCommerce: Email settings
- WooCommerce: Accounts and privacy settings
- WooCommerce: Coming soon mode
- WooCommerce: High-Performance Order Storage
- WooCommerce developer docs: Enable HPOS
- WooCommerce: Understanding the system status report
- Learn WordPress: Managing settings, permalinks
- Learn WordPress: Tools, Site Health